How to apply Menu language selector? This is what the Menu language selector looks like, applied by the theme native style.   With the following steps, you will learn how to apply the Menu language selector to your store ##Step 1 Go to Shopify Admin >> Online Store >> Navigation section and select the menu where you want to place the selector. We recommend placing it on your main menu.  ##Step 2 Click "Add menu item" to add the language link, then create a new menu option. For example, you need to add "#Etranslate-fr" for the French link. For the Spanish link to need to add "#Etranslate-es". Just add the language code after the "-" symbol. 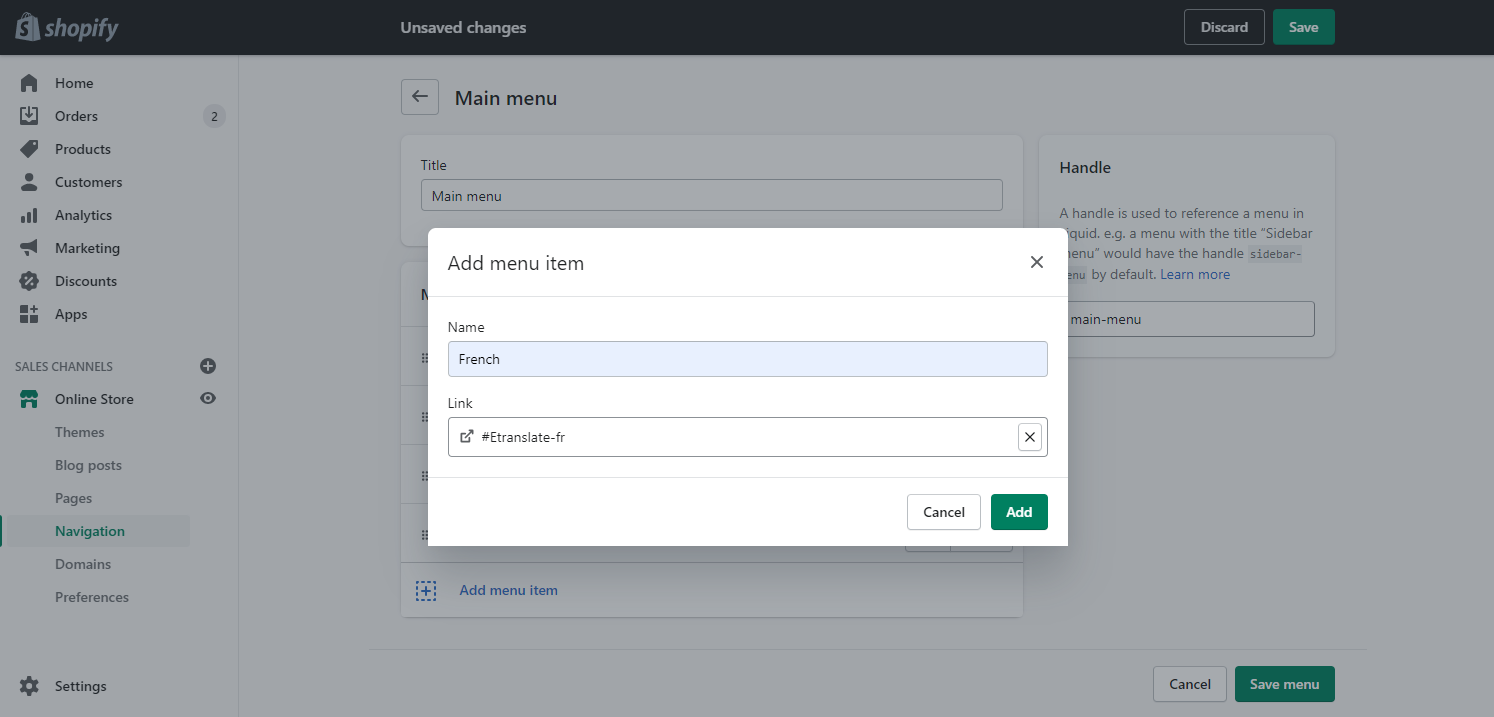 ##Step 3 Create a parent menu item if you want all the language items to compose a list. Kindly set the "#" symbol for the target link.  ##Step 4 Then you can drag and drop the language items as subitems of the 'Languages' one with the six dots on the left. So the item will show as a dropdown menu item. Save the changes then the configuration is done.  *Note: Some themes might have issues with applying the Menu language selector. Kindly contact us at etranslate@uppercommerce.com if you need help.*